
Hello shugs!
Are you ready for Christmas?!?!
 If you missed this, you simply must check it out here.
Guess what?!
I am sooooo ready for some Christmas!
I have been listenin to Christmas music on Pandora and gettin my craft on.
This year, I think I want to do lots of "natural" colors in my decor.
Think black and white, sheet music, burlap, pine cones, etc.
So, I decided to make me some Christmas trees from a book I sacrificed. I wanted creme/black and non-gloss pages.
{You can use magazines too. Note, the pages are more colorful and glossy, and obviously, larger. However, once you've made the tree, you can spray paint and add glitter if you prefer that look.}
Aiight, so let's get started, shall we?
__________
Remove the cover of your book.
Bend the book backwards {the way you should never treat a book you are not tryin to destroy}. This will help loosen the glue. Then take a kitchen knife {or anything sharp}, and cut through to separate the binding.
Separate a chunk that includes however many pages you'd like to use, making sure the glue from the binding stays in tact. Otherwise, there will be nothing to hold your tree together in the center. Sadness.
Are you ready for Christmas?!?!

Guess what?!
I am sooooo ready for some Christmas!
I have been listenin to Christmas music on Pandora and gettin my craft on.
This year, I think I want to do lots of "natural" colors in my decor.
Think black and white, sheet music, burlap, pine cones, etc.
So, I decided to make me some Christmas trees from a book I sacrificed. I wanted creme/black and non-gloss pages.

{You can use magazines too. Note, the pages are more colorful and glossy, and obviously, larger. However, once you've made the tree, you can spray paint and add glitter if you prefer that look.}
Aiight, so let's get started, shall we?
__________
Remove the cover of your book.
Bend the book backwards {the way you should never treat a book you are not tryin to destroy}. This will help loosen the glue. Then take a kitchen knife {or anything sharp}, and cut through to separate the binding.
Separate a chunk that includes however many pages you'd like to use, making sure the glue from the binding stays in tact. Otherwise, there will be nothing to hold your tree together in the center. Sadness.
I recommend a thickness of about 50 sheets (aka 100 page numbers'
worth). I did a couple trees with fewer sheets {shown below in the smaller chunk - not enough!!}, and I wasn't satisfied
with the fullness of the tree once it was finished. I ended up making another tree using about half of the fat chunk that is shown on the bottom in the pic below, and it turned out much better!
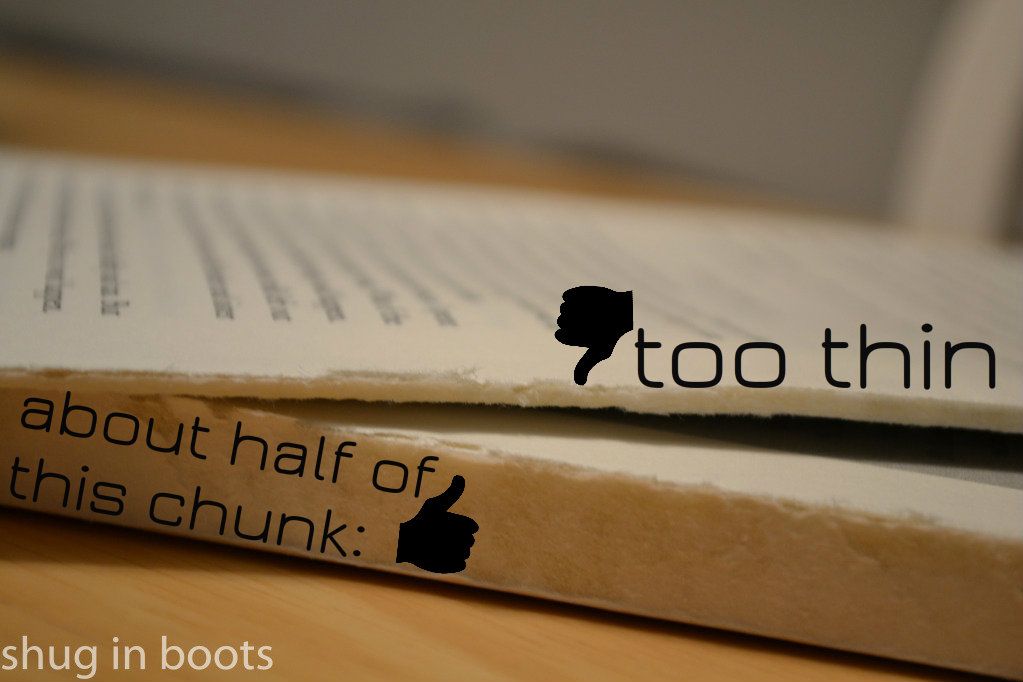
Here's the difference that the number of sheets used makes:

Here's the difference that the number of sheets used makes:

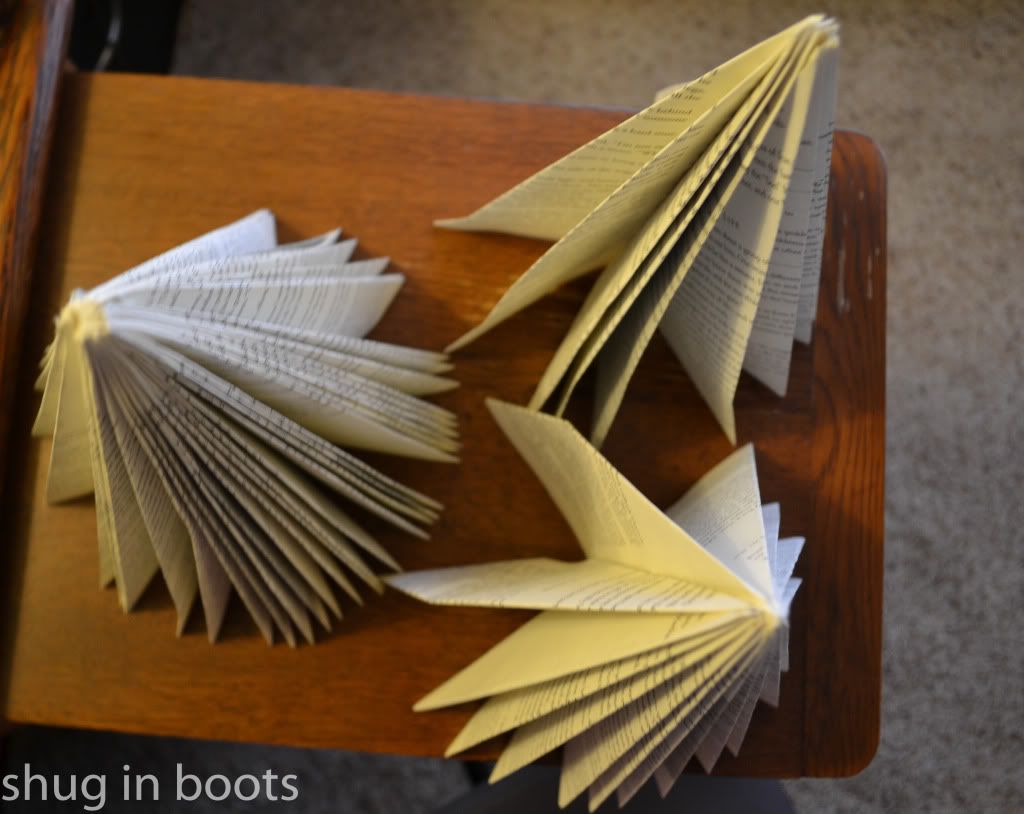
{I made the two on the right with only 15 sheets or so, but they were way too thin for me. I'm not going to throw them out, but I think I'll just use them in the background of my decor. Keep in mind, if you take the shortcut and make a "thin" tree, it is likely to gape when you bring it around into a circle/tree shape. And, the gaped open part will need to be against a wall, shelf, etc. If you are planning on using these as a centerpiece, the gaped open part will be visible. Yuck.}
__________
Next, you will make two folds toward the binding of the book:
1. Fold the top right corner of each sheet toward the binding of the book, and "tuck" it into the binding as much as possible. The tighter the tuck, the sharper the tip of your tree, and the more sturdy the tree.
2. Take the result of fold #1 and fold into the binding again. Same deal, tuck as tight into the binding as you can.
The result should look like the finished pages to the left:

The more pages you fold, the more resistance you'll feel from the thickness of the pages, and the harder it'll be to make a sharp tip for the top of the tree.
I used my knife to help me flatten and sharpen:
I used my knife to help me flatten and sharpen:

I also used the knife to make sure the entire sheet {not just the point} was tucked nicely into the binding. You don't want it to fold awkwardly like in the pic below because it makes the tree gape open awkwardly when you try to stand it up when it's completed:

__________
When you've done folds #1 and #2 on all pages, you'll still have a little flap left at the bottom of each sheet that needs to be tucked in. Otherwise, your tree bottom won't be flat/able to stand up on its own.
I fold the flap against the bottom of the "tree" to get a nice sharp line.
Then go back and tuck it in.
When you're done, the bottom of all the sheets is nice and flat so your tree can stand up on its own.

__________
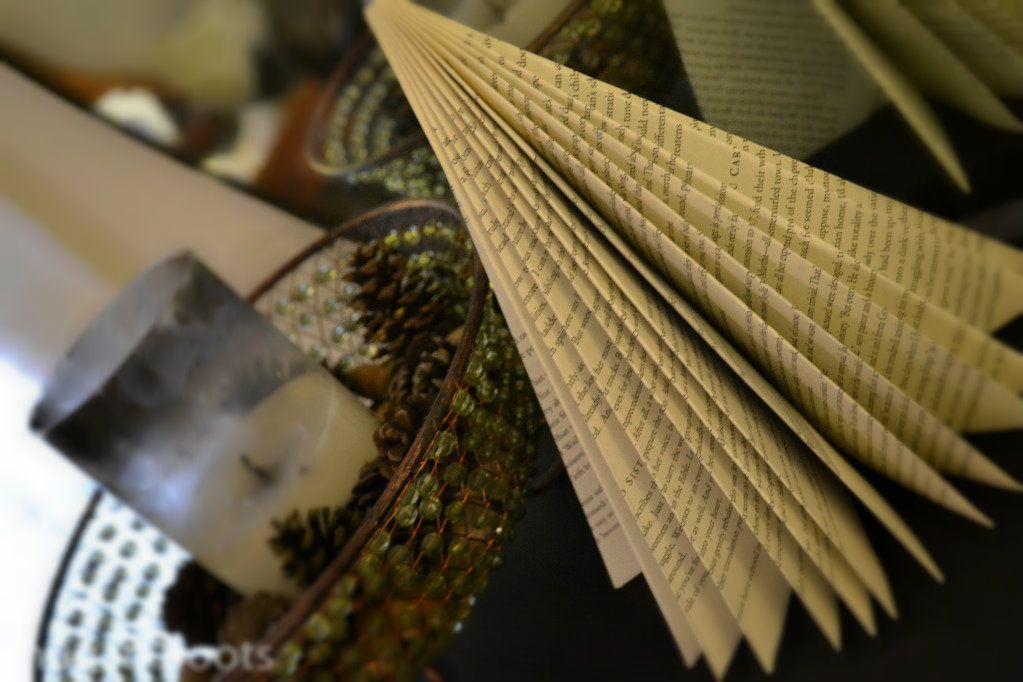
The finished product looks like this:

Like I said, you can further embellish if you like with some spray paint {silver, gold, white} and maybe some glitter.
Happy Tree Time!!

1 comment:
These are too cute! I will have to try this out. Thanks for sharing. :)
Post a Comment