Showing posts with label projects. Show all posts

01 October 2014

SO, WE BOUGHT A HOUSE & I KINDA STARTED A BUSINESS


Crazy, right?

We bought a 1959 brick split level, and every day, I'm all like, "Omigyahh, I need to blog about this!" But I would then pick up a paint brush, or go buy a mannequin, or get on Craigslist & find a 50's Formica dining set, or get sucked into Pinterest instead. Also, somewhere in the mix I had carpal tunnel surgery. (Came with a really cool foam thingie that looked like a piece of one of those cat mansions.) And, I chopped all my hair off and it feels FABULOUS. Also, we mayyy get a dog. Anywho, a lot goin' on, and before I knew it, it was October. Praise the Lord! So sick of sweatin'!

We knew from the beginning that we didn't want anything new, and we didn't want a house in an HOA hood. That eliminated a bunch. I've always dreamed of an older house with tons of character, and that, my shugs, is what we found.
And, I am all up in some love over it!

I am starting to feel anxiety about all that has happened and how there is no way I could communicate it all through pictures, but we will do what we can in baby steps, mmmk? Today, let's discuss the living room.


 Top is how it looked in the listing // Bottom is how it looked when we bought it
 I like to call this color Shiny Earwax. It was in the living room, and all the halls. Woof.
Jewel tones aren't really my thing either.

Meanwhile, we found this mid century love seat at an estate sale for $40.
I liked the color the way it was, but it had some sun damage and some stains, and I hated the skirt.
IMO, paying to have something reupholstered is only worth it if a piece is vintage/antique or has some kind of sentimental value because upholstery can get expensive quickly.

Here's the before and after:
I lucked up and found a fabric almost the exact same avocado green, and it was dirt cheap at a discount fabric store! 

Here's the living room now (complete with Halloween decor):
  The couch is from a Habitat ReStore.
The gallery wall is a mix of my work, and thrifted pieces hit up with some spray paint.
The Halloween garland above is fabric scraps I already had, and the skulls are from Michael's. (Styrofoam, $1.59, couldn't find them online.)


And the sideboard is to the right (not visible in the above photo):
It was a splurge purchase, but it was worth it. 
A) It's gorgeous B) I can decorate the top! C) I hide lots of stuff in it.

We hit up the IKEA:

(as coffee table)

(pillow forms sold separately from covers)

... and West Elm:
(tip: Hanging curtains the entire height of the wall, with only the edges of the windows being covered, as opposed to hanging them over the windows completely, makes the windows & the room look bigger! Check it out here. Huge difference, y'all!)

Another tip:
A live plant will do wonders for the look and feel of a sitting space!

We still need:
* a light fixture (ordered from Restoration Hardware, not here yet)
* a chair for the left corner that you can barely see in these pics ... TBD
* art for this hole:

We already picked it out ... ;)

Oh, and the business.
I realized I like to paint!
Check me out on Facebook and on Instagram @shuginboots.
I paint whatever tickles my fancy, and I also do customized pieces with text/colors of your choice.


Y'all remember Brody? Him is so handsome!


Have a lovely Wednesday, shugs!
I'm off to steal one of the hubs' Cherry Lemon Sundrops from the fridge.

15 January 2013

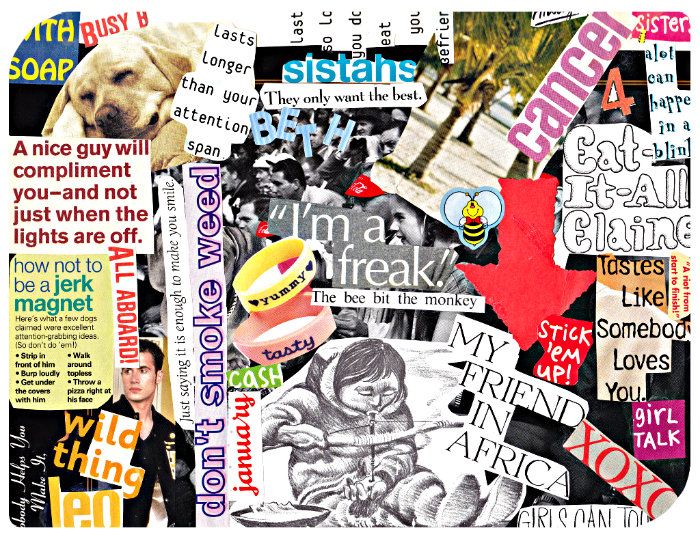
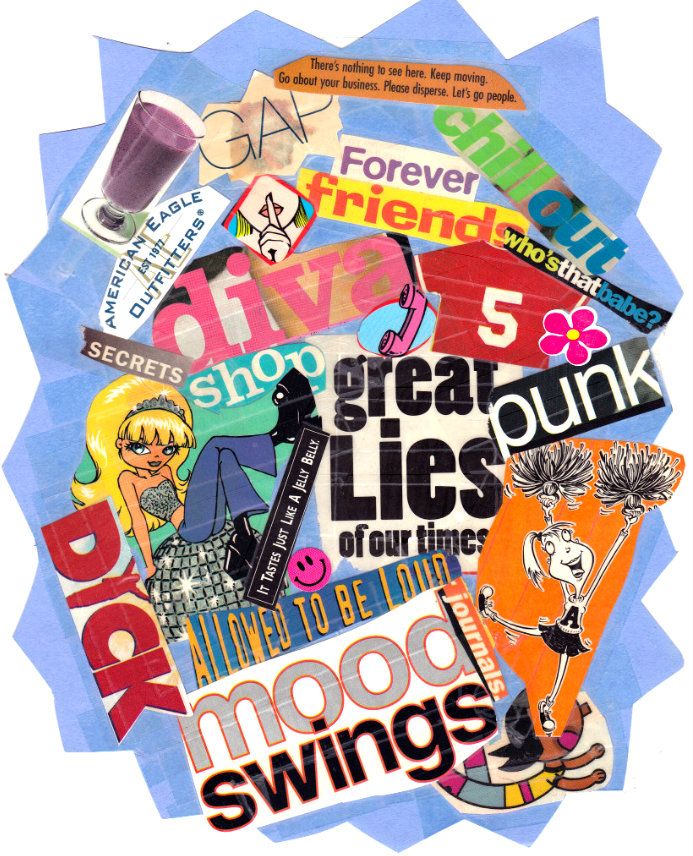
let's cut some shiz out and glue it on!!

When I was in high school, me and my girls were all about makin' some collages.
You know, random, inside jokes, shit that is super hilarious when you are 16.
I'm glad I saved some of these because they crack me up.
WTH were we thinkin?
PS - we did not smoke weed,
and we were not sluts, despite the hilarity we found in giving sexual meaning to almost anything found in a magazine.

IMG_0006-3

IMG_0005-2

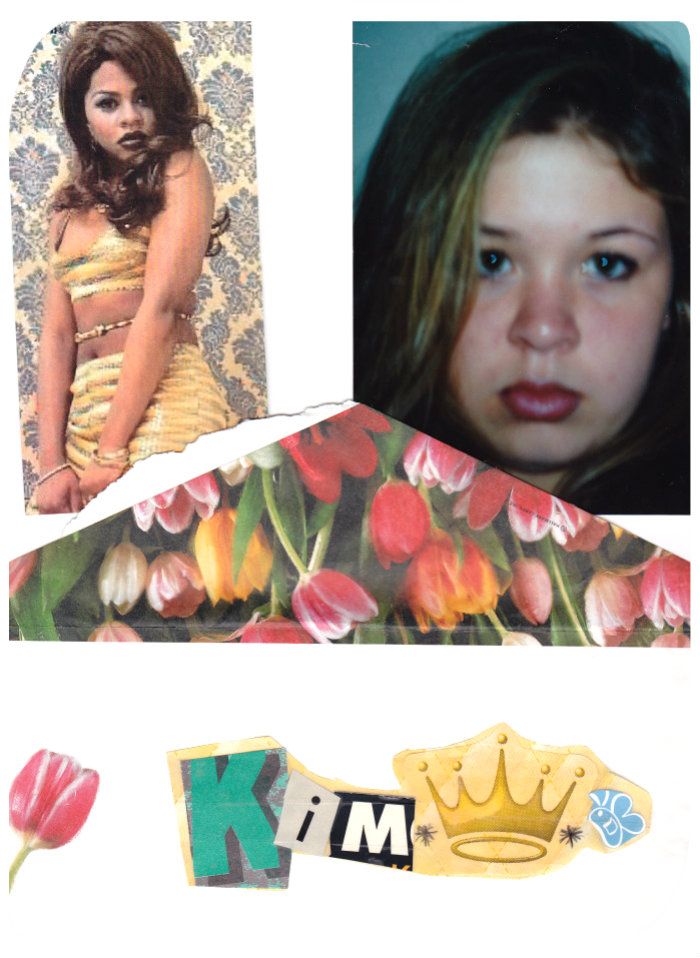
There was also our nicknames.
Mine was Qween Bee. Yes, Queen with a "w" because I was unique, duh.
I loved me some Lil Kim. #notagoodrolemodel

IMG_0009
Yep, half of my memories of high school center around the collages and notes we'd make for each other almost every single night instead of doing our homework.
That's what the parkin' lot in the mornin' was for.

Anyhoo, I got my Lilly planner in, and I am pretty much in love.
However - I had to put my own twist on it because I hate things that are pre-decorated.
Also, it was a smiiiiiidge heavy on the pink and prissy and 'lifestyles of the elite' for my taste.
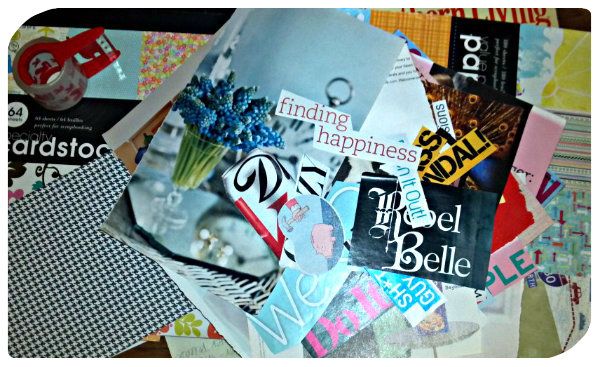
Soooo, I got my collage on.

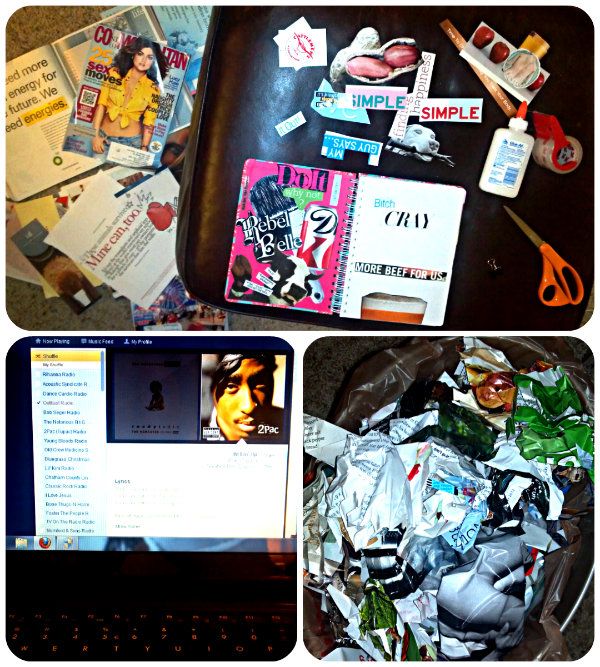
pieces-1

Do y'all do this? Decorate your planner?
What's that? No, because you're not fourteen?
Well, you are missin' out.

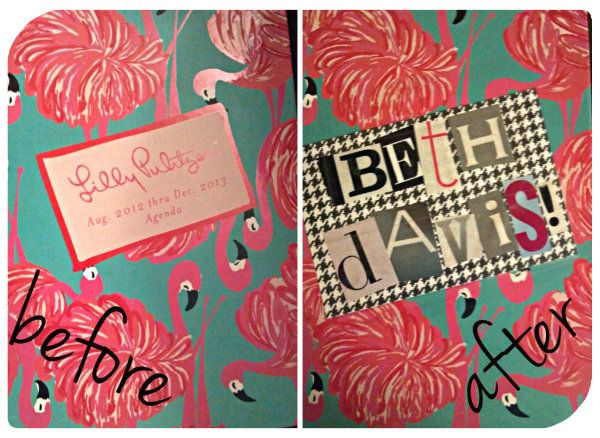
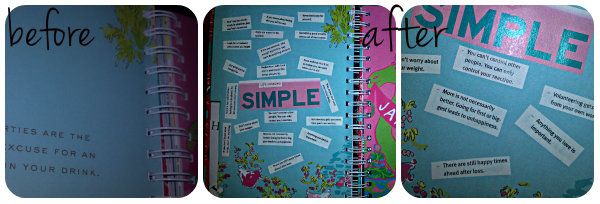
Here's the cover:

BAcover-1

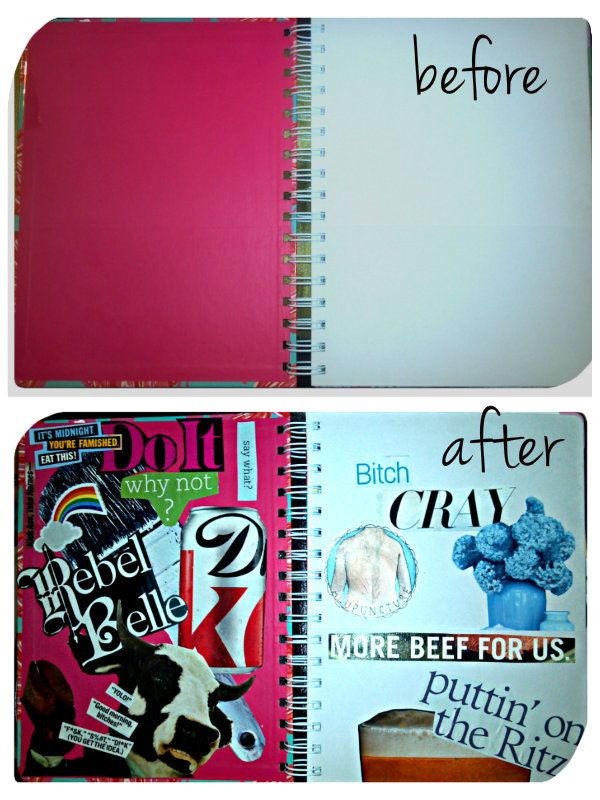
This is the inside of the front
{back of the cover, and the folder}

frontBA

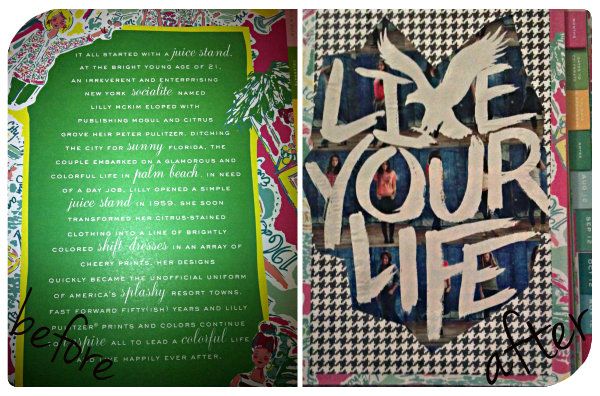
This is the page where they tell us all about Lilly's life at the juice stand and how she got started:

BApages

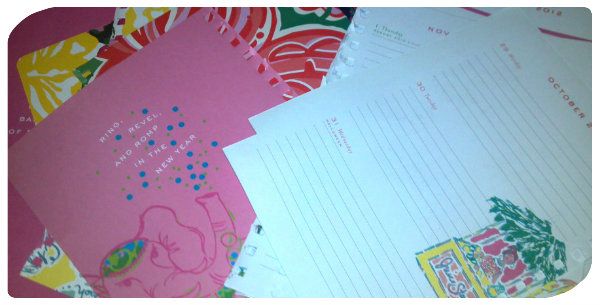
It was also irritatin' the piss out of me that there were five months included
that have already come and gone.
So, I ripped them shits out.
Not sure what I'll do with those pages yet.
I hate waste.

oldmonths-1

So, there was the back of  the "August 2012" page left over,
so I decorated that up too.

Photobucket

Most of this went down last night around 1am because I'd had a tad too much DMD.
So, I got my Pandora on and went to collagin' up my planner.

Photobucket 

I'm almost donnnnne!!

What do y'all think?
Are you a planner/notebook/binder/office accessory decorator?

13 November 2012

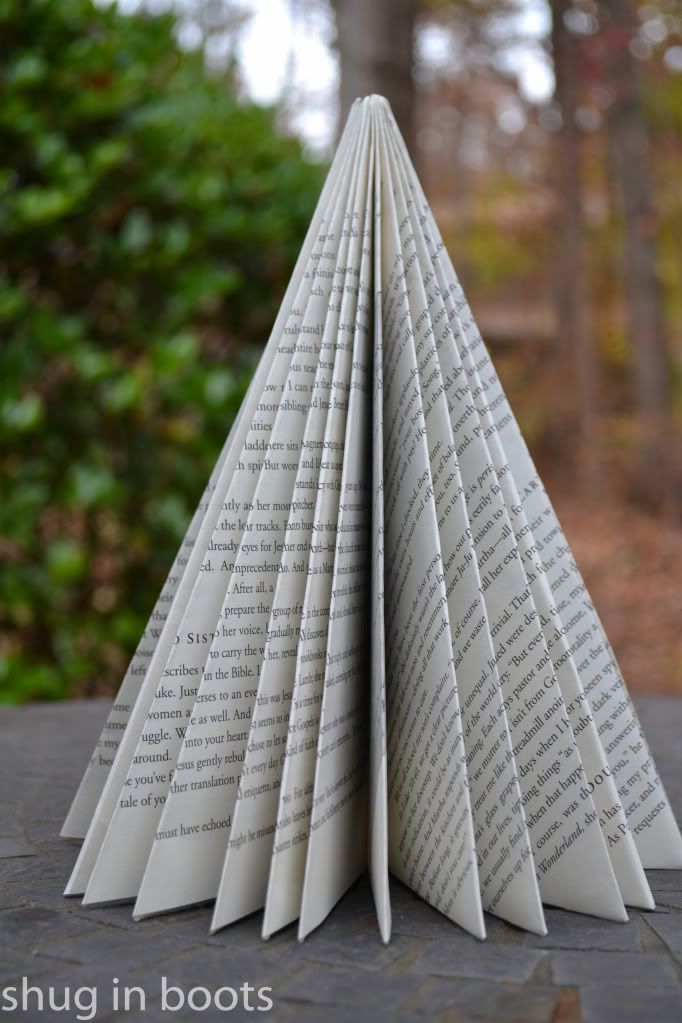
Folded Christmas Tree tutorial

Hello shugs!
Are you ready for Christmas?!?!

If you missed this, you simply must check it out here.

Guess what?!
I am sooooo ready for some Christmas!

I have been listenin to Christmas music on Pandora and gettin my craft on.
This year, I think I want to do lots of "natural" colors in my decor.
Think black and white, sheet music, burlap, pine cones, etc.

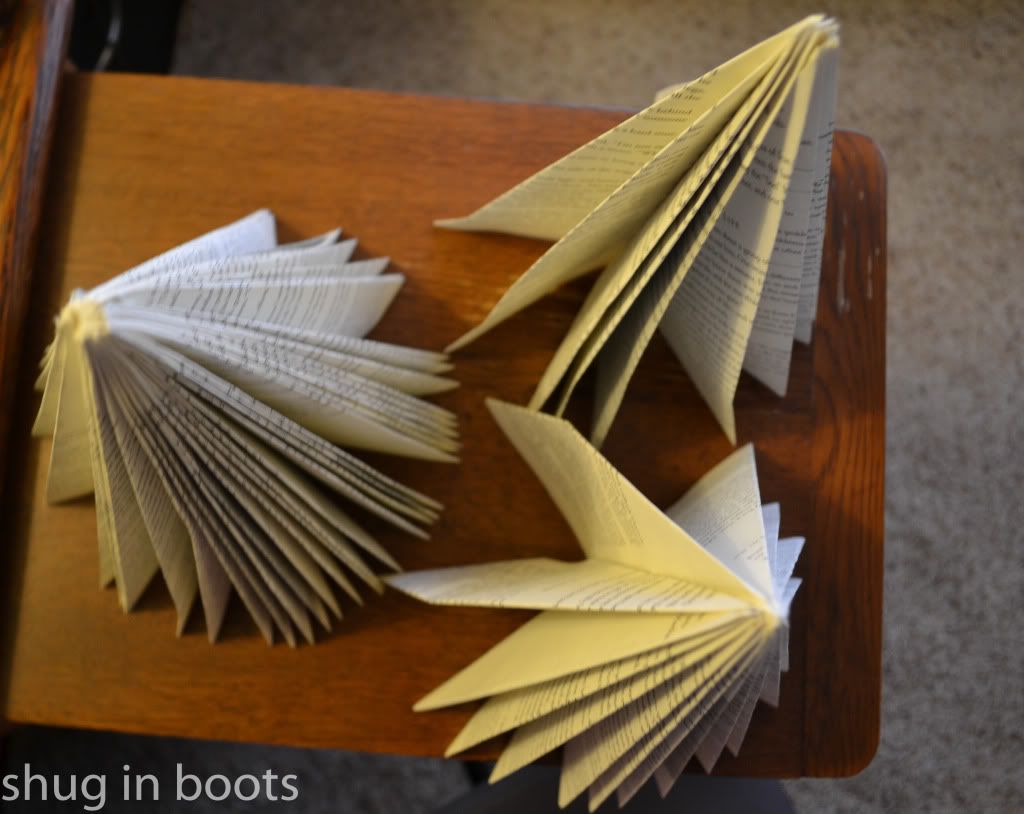
So, I decided to make me some Christmas trees from a book I sacrificed. I wanted creme/black and non-gloss pages.

fam-39

{You can use magazines too. Note, the pages are more colorful and glossy, and obviously, larger. However, once you've made the tree, you can spray paint and add glitter if you prefer that look.}

Aiight, so let's get started, shall we?

__________

Remove the cover of your book.

Bend the book backwards {the way you should never treat a book you are not tryin to destroy}. This will help loosen the glue. Then take a kitchen knife {or anything sharp}, and cut through to separate the binding.

Separate a chunk that includes however many pages you'd like to use, making sure the glue from the binding stays in tact. Otherwise, there will be nothing to hold your tree together in the center. Sadness.

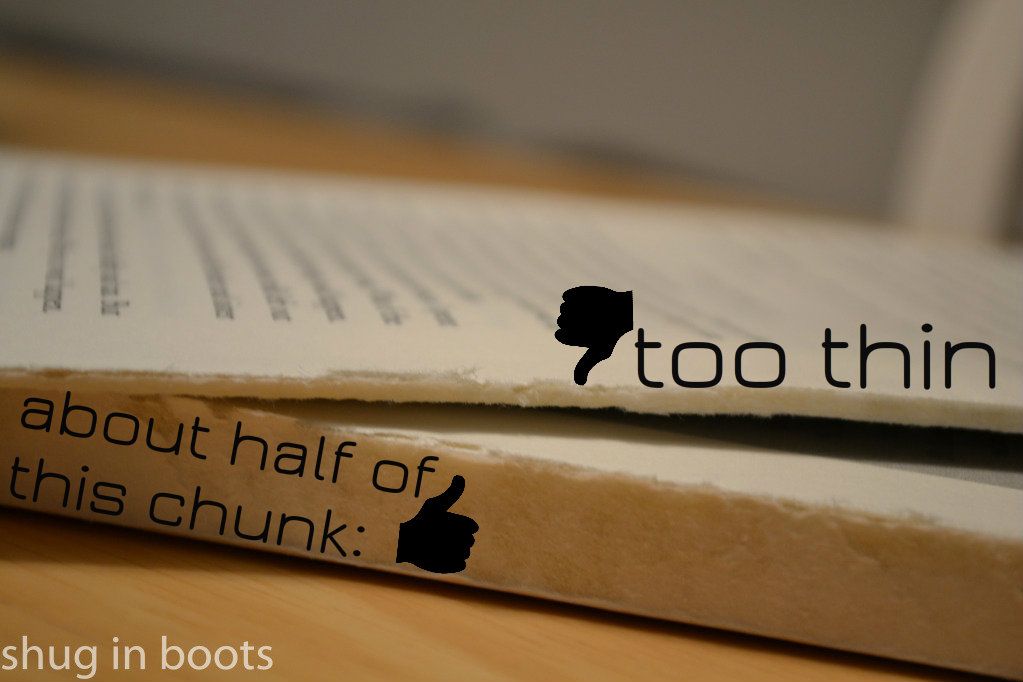
I recommend a thickness of about 50 sheets (aka 100 page numbers' worth). I did a couple trees with fewer sheets {shown below in the smaller chunk - not enough!!}, and I wasn't satisfied with the fullness of the tree once it was finished.  I ended up making another tree using about half of the fat chunk that is shown on the bottom in the pic below, and it turned out much better!

fam-31

Here's the difference that the number of sheets used makes:

Photobucket

{I made the two on the right with only 15 sheets or so, but they were way too thin for me. I'm not going to throw them out, but I think I'll just use them in the background of my decor. Keep in mind, if you take the shortcut and make a "thin" tree, it is likely to gape when you bring it around into a circle/tree shape. And, the  gaped open part will need to be against a wall, shelf, etc. If you are planning on using these as a centerpiece, the gaped open part will be visible. Yuck.}

__________

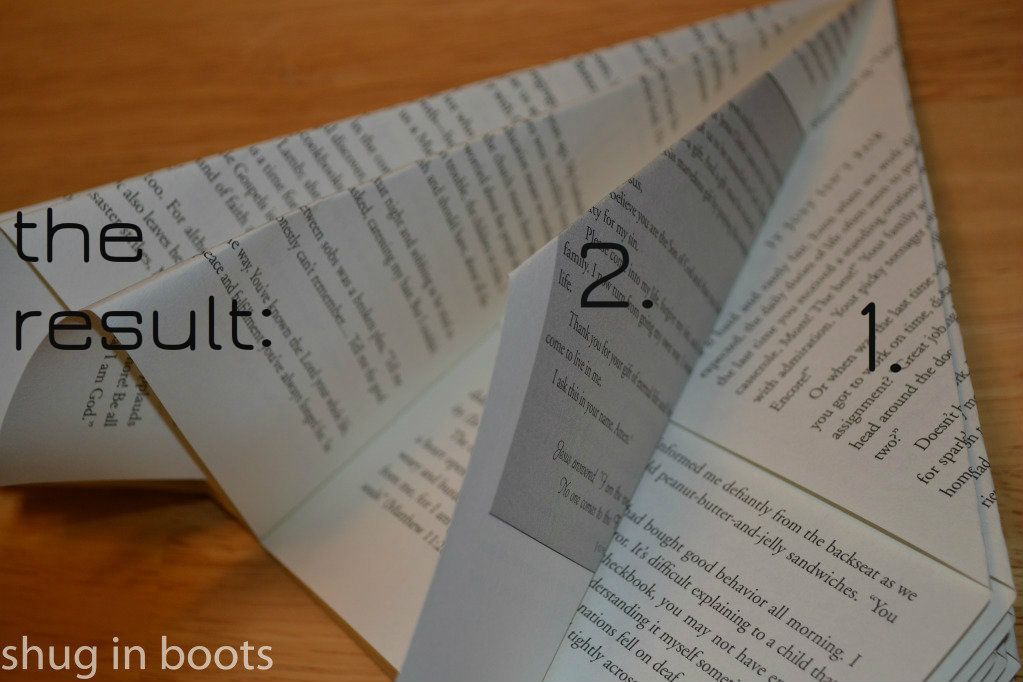
Next, you will make two folds toward the binding of the book:

1. Fold the top right corner of each sheet toward the binding of the book, and "tuck" it into the binding as much as possible. The tighter the tuck, the sharper the tip of your tree, and the more sturdy the tree.
2. Take the result of fold #1 and fold into the binding again. Same deal, tuck as tight into the binding as you can.

The result should look like the finished pages to the left:

fam-33-1

The more pages you fold, the more resistance you'll feel from the thickness of the pages, and the harder it'll be to make a sharp tip for the top of the tree.
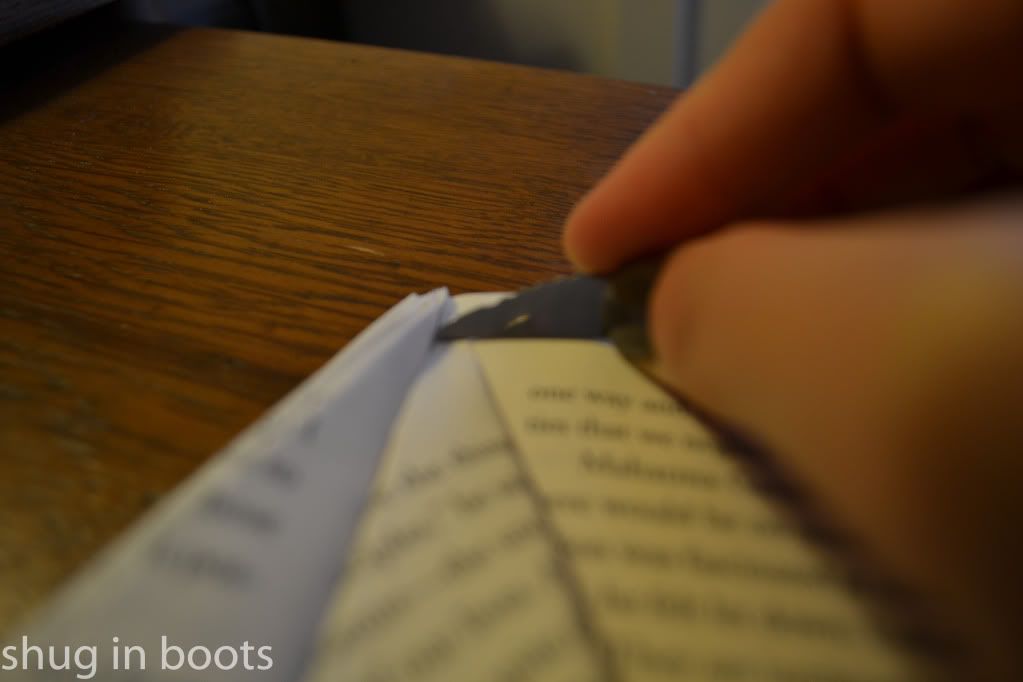
I used my knife to help me flatten and sharpen:

Photobucket

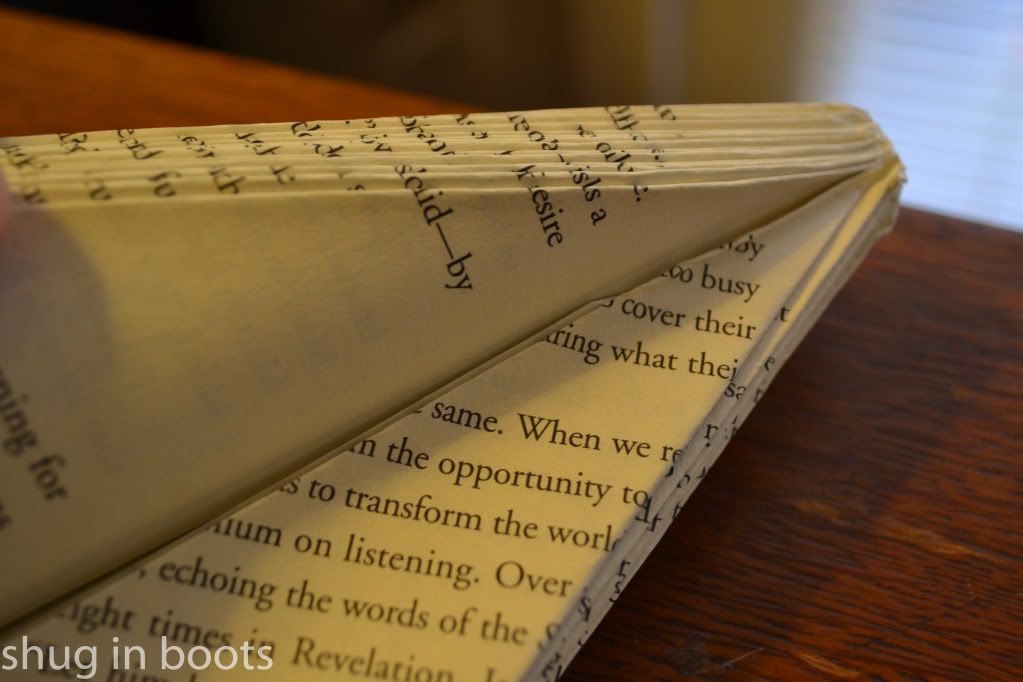
I also used the knife to make sure the entire sheet {not just the point} was tucked nicely into the binding. You don't want it to fold awkwardly like in the pic below because it makes the tree gape open awkwardly when you try to stand it up when it's completed:

Photobucket

__________

When you've done folds #1 and #2 on all pages, you'll still have a little flap left at the bottom of each sheet that needs to be tucked in. Otherwise, your tree bottom won't be flat/able to stand up on its own.

I fold the flap against the bottom of the "tree" to get a nice sharp line.
Then go back and tuck it in.
When you're done, the bottom of all the sheets is nice and flat so your tree can stand up on its own.


__________

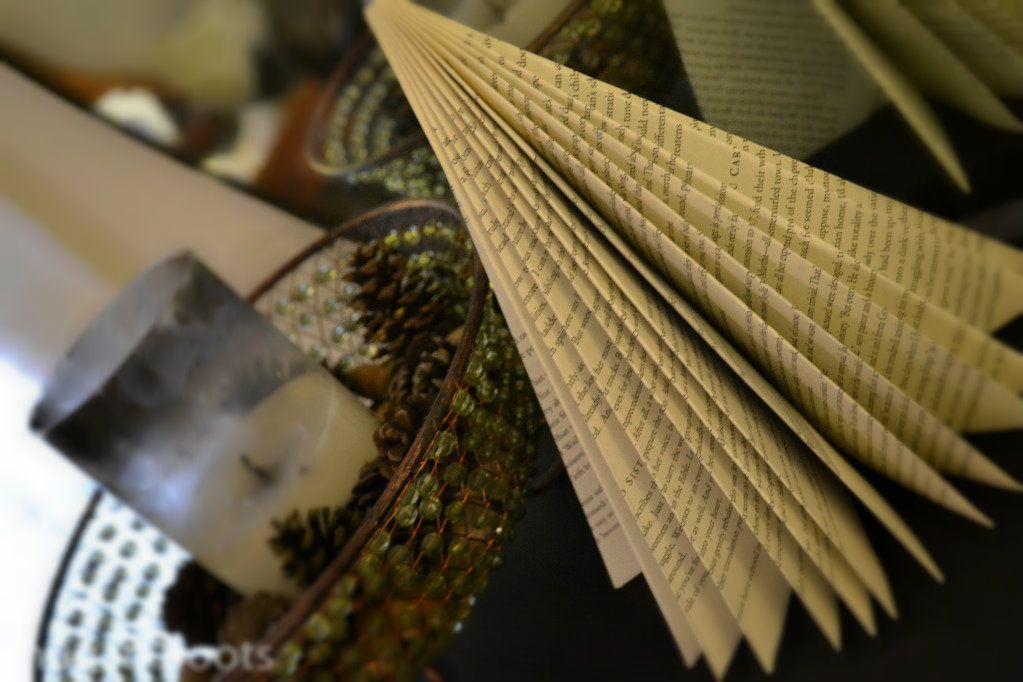
The finished product looks like this:


Photobucket

Like I said, you can further embellish if you like with some spray paint {silver, gold, white} and maybe some glitter.

Happy Tree Time!!


25 October 2012

easy, cheap burlap wreath!!

I knew easy and cheap would get y'all's attention. 

Who doesn't love a good fall wreath?
Know what I love more?
One that I can make from mess I got layin' around the house {mostly - with a lil help from Big Silas' store}


What I used:
* burlap sacks {I used two great big ones} ... you could also buy a roll of burlap fabric
* a wire hanger
* old white shower curtain I accidentally shrunk in the wash
* vintage apron that had a stain on it anyway
* scissors
* needle nose pliers {to help bend the wire}

__________

Unwind your rack hanger {just for you Anj} because you will use it to "stitch" through the burlap

Since I used a burlap bag, I cut the three closed edges off to get rid of the seams and to make it two "sheets" of fabric

Then I cut strips vertically {about 4" wide}


__________

Next, you will "stitch" the hanger through the burlap, it just pokes through really easily like a needle.
I've shown two different "ways" below. If you stitch close to the center, your wreath will not lay as flat against your door, which is fine if your method of hanging will support it without the wreath popping off.


Since my hook is sort of small {and stays on the door year round}, I wanted less fabric on the back side of the wreath so that it would be flatter against my door and not pop off every time we shut the door.
So, I stitched about an inch from one edge of the fabric, rather than in the center like in the picture above.


Regardless of which way you go, you just wanna fold your burlap back and forth like a ribbon and just thread the hanger through each time.


__________

To be honest, when I started, I wasn't sure how it would look or what I'd want to add to make it more interesting. I knew I didn't want to get super fall with it, because I wanted to be able to make some simple changes later to make it more suitable for Christmas.

With burlap alone, and, with closing the hanger up to make a smaller circle than I originally planned, I still had a lot of leftover wire exposed and it looked mayjahly ghetto.

So ... this is where I decided to shred pieces of an old shower curtain I accidentally shrunk in the wash. {Oops}
I would get them started with scissors, and then tear them the rest of the way to get the edges to look rough and worn instead of scissor-cut.

{These strips are about 3" x 10"}


Then I just tied them onto the wire in a knot. {Some were tied between the separate strips of burlap, while some where mixed into a strip of burlap ... just put em in however you like until it's as full as you like.}


Finally, for the "fall" aspect, I decided to use the apron I mentioned earlier because it was orange and white {and vintage!!!} 
I did the same thing - {three} 3" x 10" strips. 
I tied two of the strips into bows and then just knotted the third strip underneath the bows so that I had a little hanging down.

__________

To finish it off, I just used the needle nose pliers to hook the two wire ends into each other, and then just wrapped and wrapped around any excess wire {because I didn't have wire cutters and I'm too cheap to go buy some.}
__________


Here's the finished product
{I debated cutting the stringy parts off, but I was too lazy to cut them off and I already uploaded this pic think I kinda like it.}

Also, the pic is taken hangin from our mantle instead of on our door because I look too haggard to be outside on the porch takin photos.

{in this pic, the white ribbons look sort of clustered, but when I hung it on the door, I just adjusted the white ribbons and twisted the burlap a bit until I was satisfied}

Hope the hubs digs it when he gets home cause it's here to stay and he tends to be picky about such things.

To make for a more magical crafting experience, I recommend consuming these bomb ass gluten free chocolate chip cookies {Harris Teeter} and listening to Chatham County Line while you work. 

;)


Happy Fall Wreathin, Shugpies!


11 July 2012

DIY jewelry display

I was flipping through Southern Living's recent special edition, "100 Makeover Ideas" (couldn't find a link) and came across a bulletin board covered in fabric to hang large pieces of jewelry. Theirs was framed (in what looked like crown molding that had been cut to fit). I decided I'd attempt to make it, 'cause Lord knows I have three jewelry boxes and I am about to die to find a way to separate big, bulky pieces from smaller, daintier ones. 

Then, I remembered I had this window frame! Holla!

 Here is the finished product:


What I used:
* roll of corkboard (make sure it's not the super thin kind)


* 3 pk. of foam boards (I put these behind the cork because the cork alone wasn't thick enough and it would've caused the thumbtacks to poke all the way through to the wall)


* fabric (I had an old linen-like shower curtain leftover that I'd started to cut up to use on something else)

* staple gun and staples (make sure the staples are big/long enough to go through the cork, foam, fabric, and into your frame, if you make yours that way)

* D-hooks and picture hanging wire // materials for preferred method of hanging your frame

* thumbtacks or some sort of pushpin (I just used clear thumbtacks because I didn't want too much going on with color, etc)

Basically, my "layers" were"
1 - frame
2 - fabric
3 - corkboard
4 - foam (just one sheet is thick enough - out of the 3 in the pack, I only needed two, side-by-side, and I had to cut one of them down so its edges weren't visible)


Hope this explains it. Loving mine so far. 
One step closer to organization!


20 February 2012

weekend ... better late than never.

my friday night started off right with this delicious husband-made chicken marsala with GLUTEN FREE noodles! whoop! whoop!

Photobucket

and some of this.

Photobucket

Anj (and I) devoured some homemade salsa my Aunt Weezie gave him for his upcoming bday.
Photobucket
Anj's 10 year HS reunion ...

Photobucket

Of course Anj won this child-sized t-shirt. I tried it on but I will spare y'all.
Photobucket
Then he won ANOTHER t-shirt. This one was for grown ups.

Photobucket

We got a wild hair and decided to start spring cleaning and throwin shiz out.

Photobucket

(see Anj's creepy reflection below?)

Photobucket

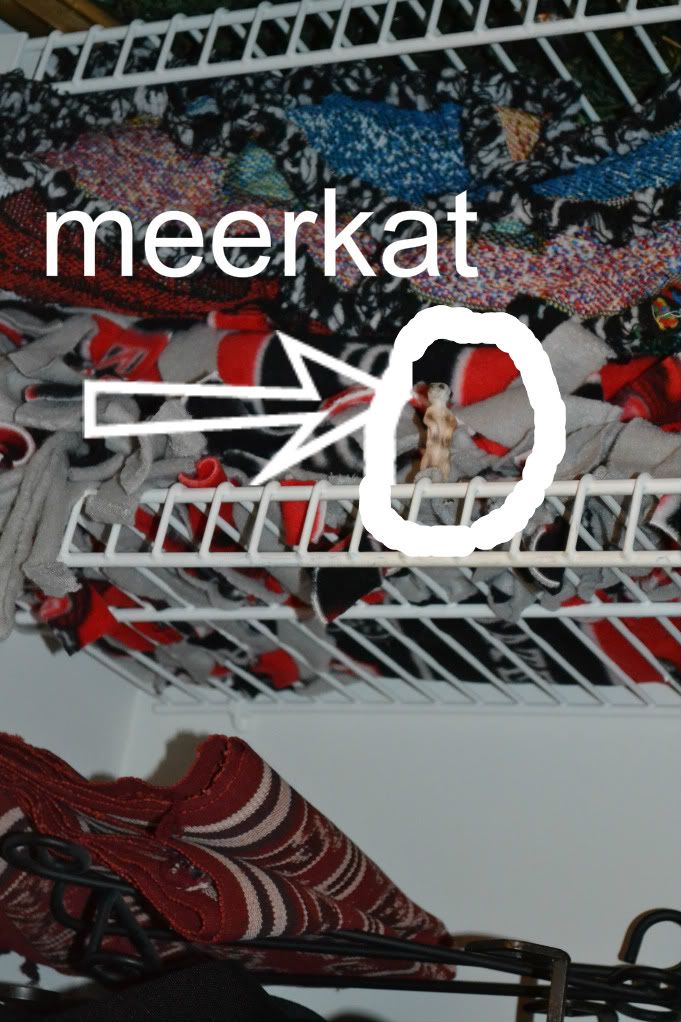
While we were cleaning, I found the meerkat. Anj hid him in the closet because I always go here to get my most favoritest blanket during movie time. Read here if you are wondering what the deuce I am talking about regarding the meerkat's hiding spot.

Photobucket

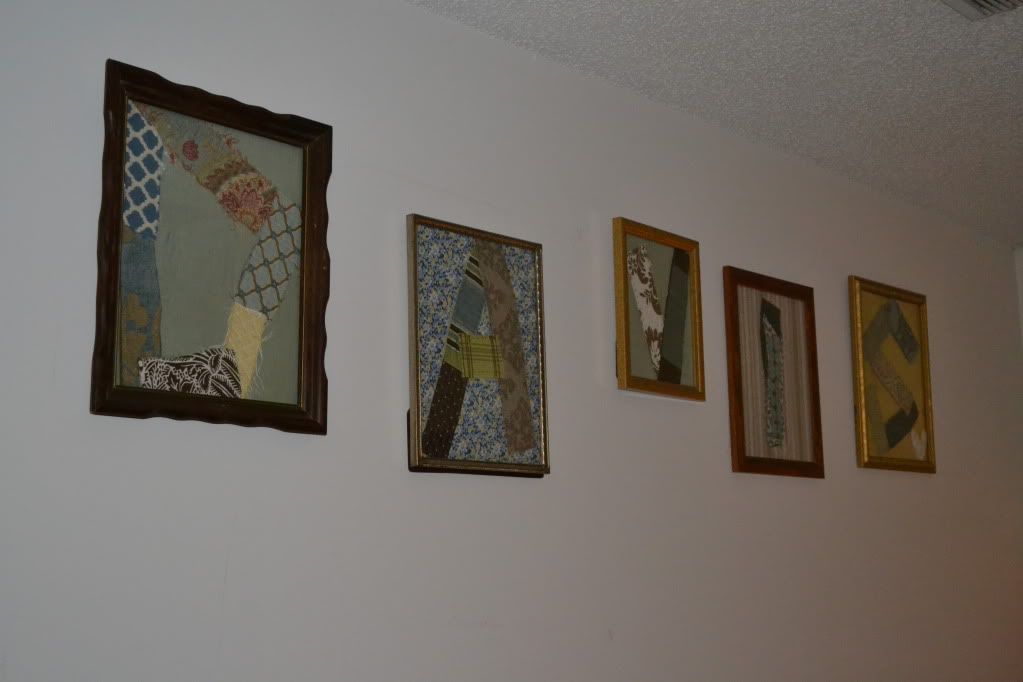
Finally hung these.

Photobucket

Photobucket

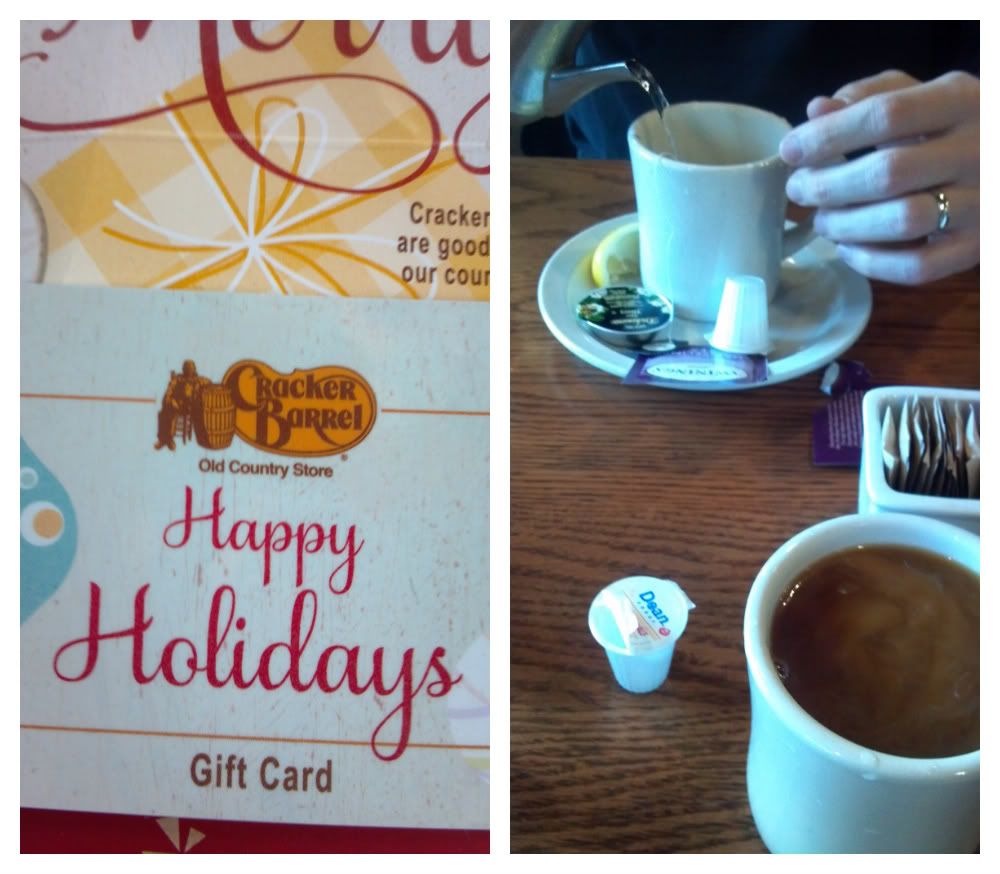
We got our Cracker Barrel on.

Photobucket

Yummay!

Photobucket

Otherwise, we did a lot of loungin. 

Imagine that. 

Hope your weekend was mag, and have a super rest of this week, shugs!

Bee